
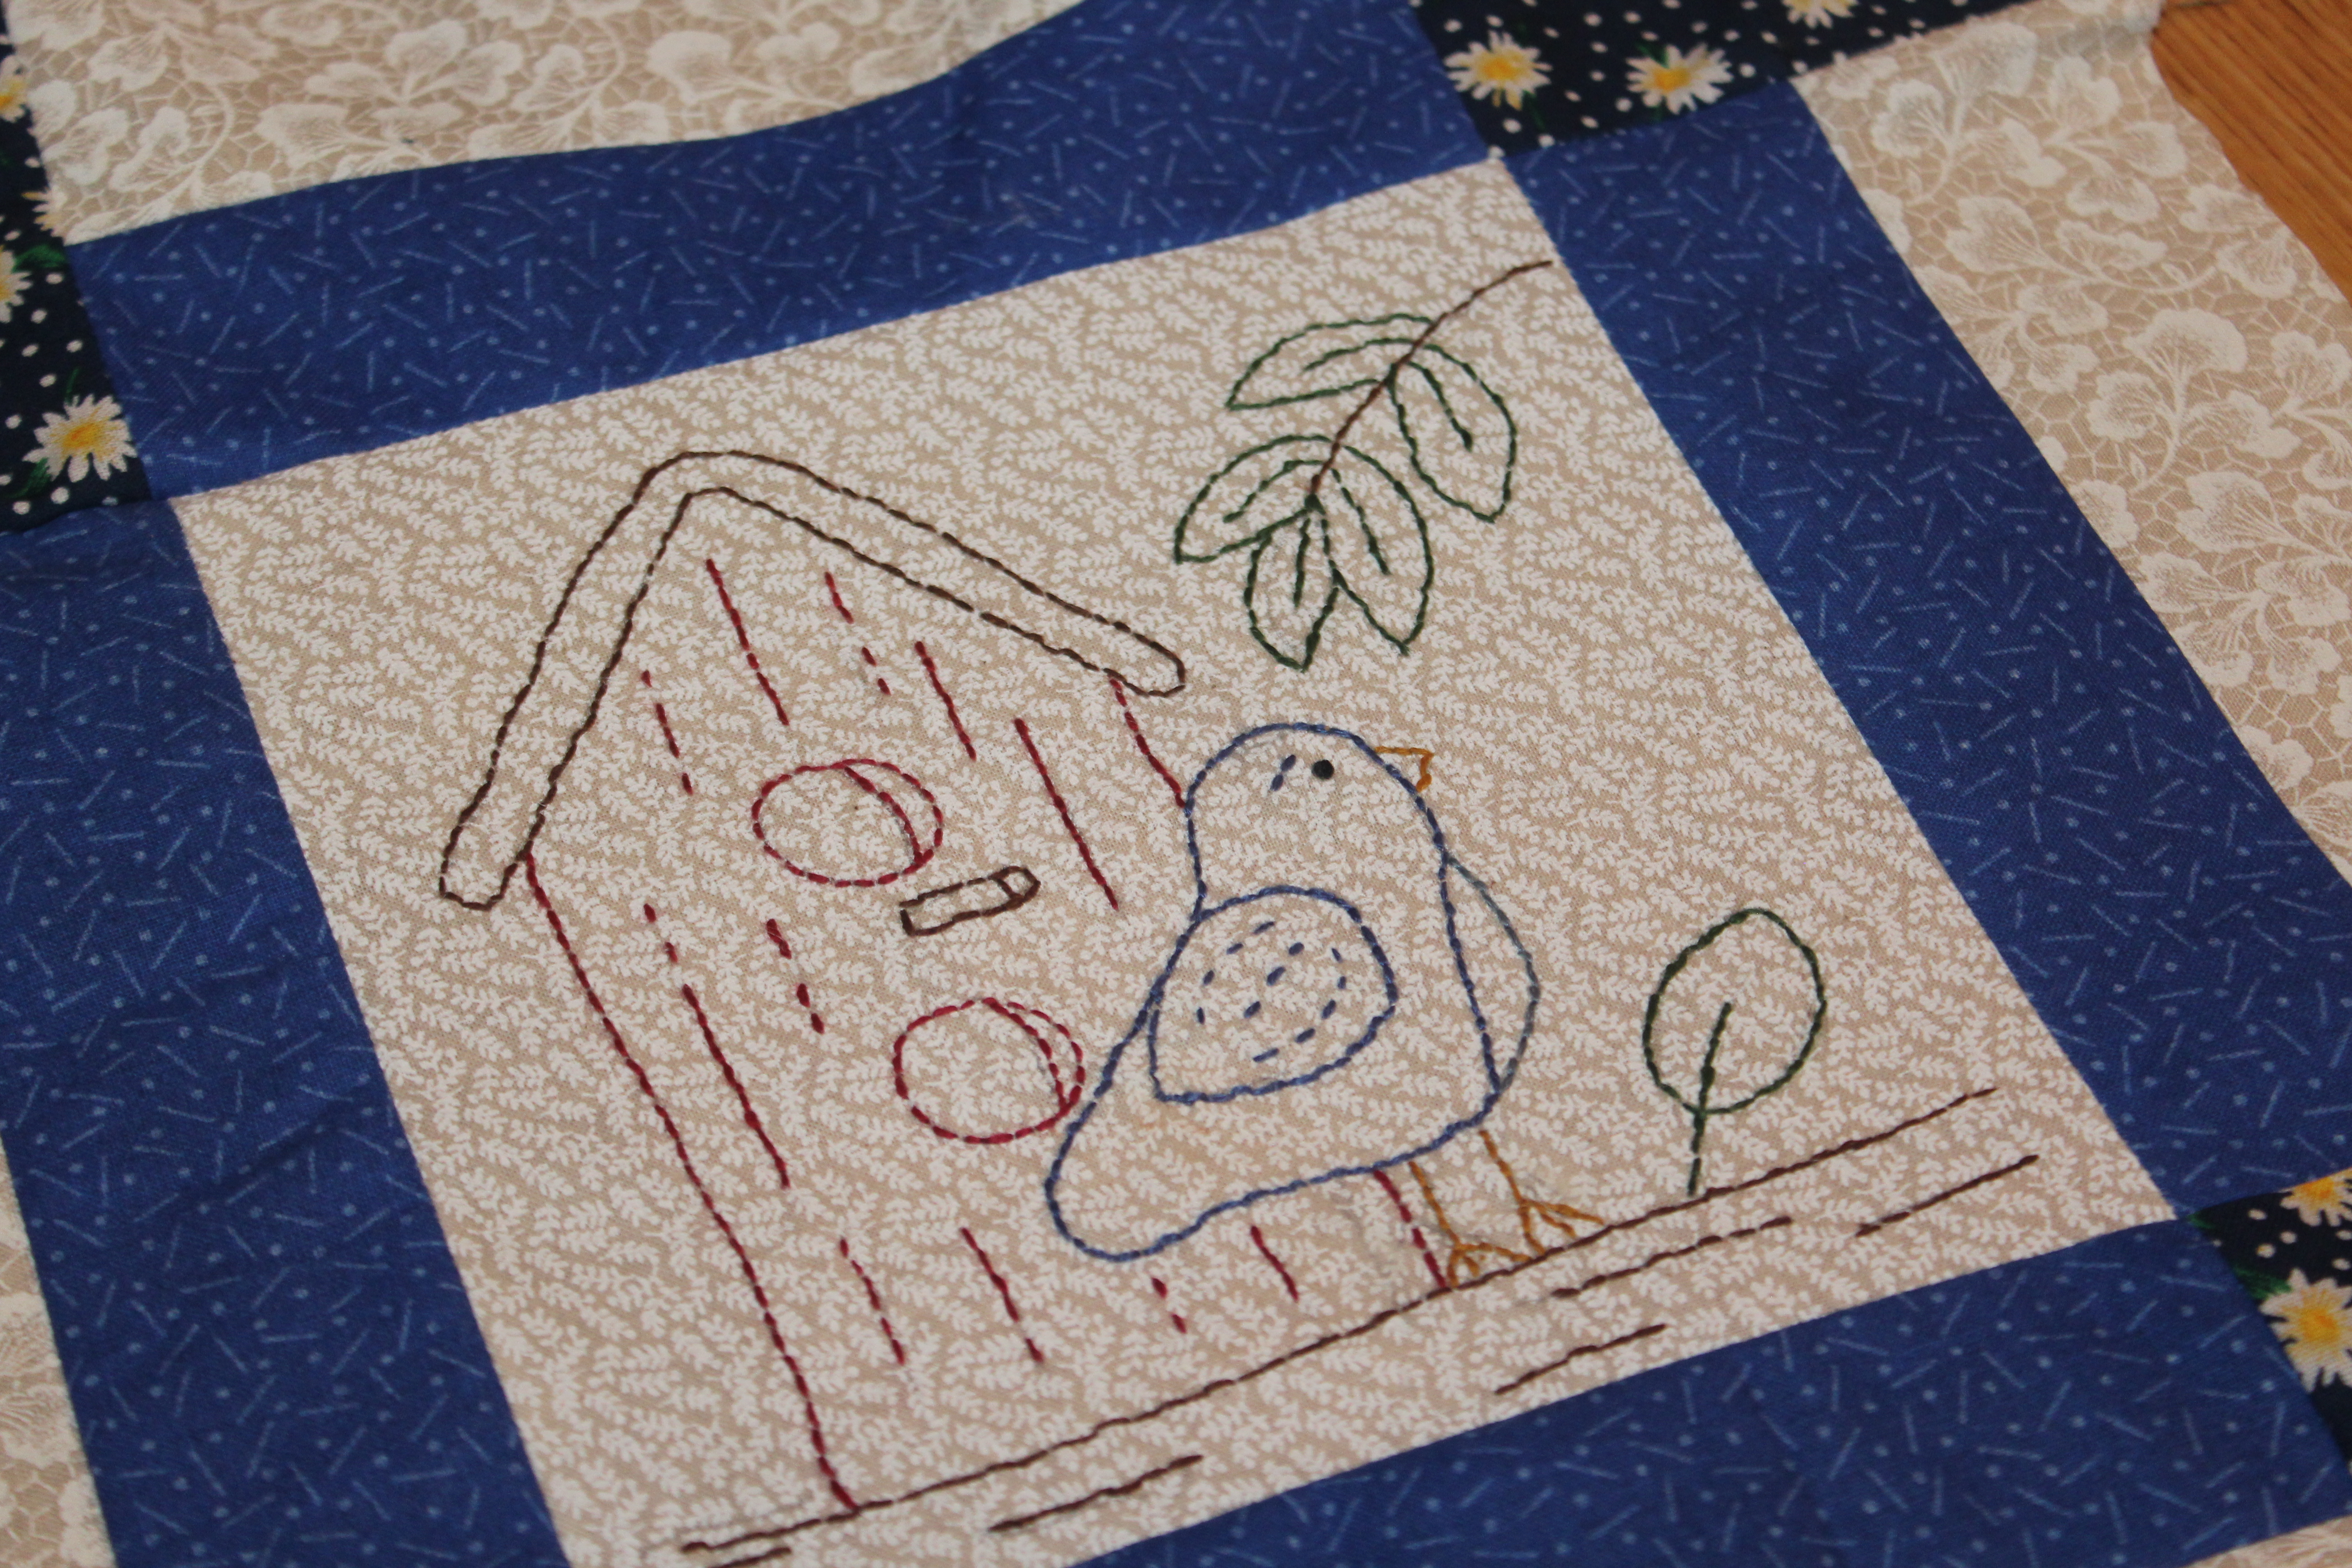
All 12 blocks are embroidered on my Summer Days quilt . Any spare minute that I could sneak into the quilt nest and piece, I certainly took that opportunity. I gave a sneak peek of one of the blocks on Monday.

I decided to set my embroidered pieces into the Churn Dash block. I originally thought about using Depression era fabrics, but in the end, summery reds and blues won out. You know me and the color red!

My plan is to have 6 red blocks and 6 blue. I have not decided if I am going to add sashing or a different type of block between the embroidered blocks. I am a fly by the seat kinda of girl if you haven't already figured that out.
So let me show you how I pieced my block.
The unfinished size of the Churn Dash Block is 12 1/2" . Finished size : 12".

The embroidered blocks measured 6 1 /2" unfinished and 6 " finished.


I decided to use the Magic 8 Method to create 8 half square triangle blocks at once. Coral + Co. has a great tutorial on how to use this method. Please check them out . They do a lot better job at explaining than I do though I will attempt it. Lol.
The FORMULA is finished square size + 7/8" ( or .875) and then multiply by 2.
✴Since I know that my finished HST blocks need to measure 3". I cut out a 7 3/4" square of blue and a 7 3/4" square of white. This is going to give me 8 HST in the end.
✴ I placed them right sides together, and I drew diagonal dotted lines from corner to corner. A quarter of an inch from each side of the diagonal lines, I drew a solid line to indicate the sewing lines. I then drew a dotted line halving the whole 7 3/4" block in each direction.

✴The dotted lines will be the cutting lines after the sewing has taken place. Sew a scant 1/4" down the solid lines.

✴Cut on the dotted lines creating 8 HST. You will need 4 to piece one Churn Dash. Trim the blocks to 3 1/2"

✴From blue fabric #2 , I cut a strip measuring 2" x WOF. I did the same for a white fabric #2.

✴I placed right sides together and pieced the strips using a 1/4" seam allowance . Press . I then subcut this unit into 6 1/2" strips. You need 4 for one Churn Dash.

✴Using the 4 HST , the Blue/ White strips and embroidered block, I laid out my pieces.

✴Sew them in rows and then sew the rows together. Press and Wah Lah!

EEHH! I did not buy any new fabric for this project . I just rummaged through the quilt nest to find what I needed. I guesstimate that I had about a 1 yard of each of the red, blue and white fabrics. Of course, I did not use all of that amount of fabric to piece the blocks, but I am just giving you an idea of where I started at .( REMEMBER FLY BY THE SEAT OF MY PANTS! Lol)


As far as all of the Churn Dash Blocks, I have figured out the fabric and cutting requirements:
FOR 12 CHURN DASH BLOCKS
BLUE FLORAL FABRIC #1 : Cut 1 strip of fabric 7 3/4" x WOF. Subcut into 7 3/4" squares . (You will only need 3 squares to piece 6 blocks if you are using the Magic Eight Method).
WHITE PRINT FABRIC #1 : Cut 2 strips of fabric 7 3/4" x WOF. Subcut into 7 3/4" squares. (You will need 6 - 3 for the red blocks and 3 for the blue blocks)
RED FLORAL FABRIC #1: Cut 1 strip of fabric 7 3/4" x WOF. Subcut into 7 3/4" squares . (You will only need 3 squares to piece 6 blocks if you are using the Magic Eight Method).
BLUE PRINT FABRIC # 2- Cut 4 strips of fabric 2" x WOF
RED PRINT FABRIC # 2- Cut 4 strips of fabric 2" x WOF
WHITE PRINT FABRIC #2- Cut 8 strips of fabric 2" x WOF
And of course you need your 6 1/2" embroidered blocks.
I hope you stay tuned to see what I decide to do once the blocks are completed. Will it be sashing or another block? Hmmmm ! Inquiring minds want to know. lol.
I truly appreciate ya'll visiting me on Embroidery Thursdays and for all of the kind words of encouragement. I hope some of ya'll have joined in whether on this embroidery project or one of your own. It is sometimes nice to reserve a day for something a little different in crafting.
Well, the grandbabies will be here soon, but in the meantime. I have more blocks to piece. I wish you were here in person so we could chat the day away while playing with fabric and thread. Have a beautiful day, my friends . And as always...
Happy quilting and stitching, ya'll
If you have missed any of the previous blocks, check out the links below to go back to the previous posts for the jpgs.

Previous blocks include: Little Blue Birdie ,Time to Plant , A Bowl of Berries , A Basket of Blooms , Buzz Buzz , Red , White, and Ewe , Summertime Treat , Lemonade , Sunflower Basket ,A Jar of Coneflowers , Home Tweet Home , Bowl of Tomatoes.
Hugs and Stitches!!! 🤗❤🧵
Dedicated to my sweet sister, Amy. I will forever miss our Summer time fun - cookouts , gatherings , swimming and whatever else we could get into.
I am joining these lovely ladies' link parties. I hope you check them out; they always have so many wonderful projects going on and provide the opportunity for other needleworkers to meet.
Pat at Life in the Scrapatch for Stitch , Sew and Show- Wednesday
Jennifer at Inquiring Quilter for Wednesday Wait Loss- Wednesday
Denise at For the Love of Geese for Put Your Foot Down- Thursday
Kelly at My Quilt Infatuation for Needle and Thread Thursday- Thursday


I love the way you are putting your blocks together. Even better that you didn’t have to buy fabric!!!
ReplyDeletePenny, I am so excited with how these blogs are coming together and woo hoo on using my stash. Thank you for the sweet visit. Hugs.
DeleteYour blocks are so darling, Melisa.
ReplyDeleteOh thank you so much, Robin. I think they are looking a lot better as I form them into quilt blocks. Lol. Big hugs. Happy stitching.
DeleteThat's a great way to surround your embroideries. It's going to look terrific when done.
ReplyDeleteYou are so kind, Bonnie. thank you so much. I debated and debated on how to finish them , but I am so glad that I decided to block them in. Happy quilting.
DeleteThey are all so sweet. I just love this series. Wishing you a lovely day sweet friend, full of many blessings. ((hugs))
ReplyDeleteOh thank you so much, dear friend. I am already dreaming of new embroidery project, but boy do I need to get some quilts quilted and out of the way. Lol. Hugs and blessings.
DeleteThat's a great way to finish your pretty embroidered blocks, I'm looking forward to seeing them all together.
ReplyDeleteOh thank you so much, Jenny. I am quite pleased with how they are coming together. I can not wait to get the whole quilt completed. Hopefully here soon. Happy quilting, my friend.
DeleteThis is turning into one sweet quilt. Looking forward to seeing the finale!
ReplyDeleteThank you so much, dear Susie. It is turning out better than I imagined of course I am flying by the seat of my pants, but I am enjoying every minute of this quilt. Hugs
DeleteSuch pretty little embroideries! Love how you are finishing them. Thanks for sharing on Wednesday Wait Loss.
ReplyDeleteYou are so kind, Jennifer. thank you so much for the sweet visit and compliment and for hosting the link party. It is always a joy to visit you blog. Happy quilting.
DeleteThank you so much for showing how you did this. I make hundreds of CD blocks, but always 9 in. size, and without even thinking about it now. They are a little different because there's no stitchery in the middle!
ReplyDelete