As Always...
Other Posts That Might Strike Your Fancy!
🌞Parade of Homes 2026- Early 2026 parade of home freebies.
A blog about quilting, cross stitch, crafting, decorating, thrifting and more.
As Always...
Other Posts That Might Strike Your Fancy!
🌞Parade of Homes 2026- Early 2026 parade of home freebies.
Good afternoon, y'all. Earlier today , I posted the Blessed - 5 year IG Anniversary chart, and I thought I would share I how I finished it.
This post has a lot of photos so I do apologize.
Now I am no expert on finishing and some of you may cringe on my finishing techniques, but I figure it is better done than sitting in a basket of shame. Don't you? Hee ! Hee! So please, oh please do not call the CSFP on me that is the Cross Stitch Finishing Police .👮🚓🚨 If you do , I promise I will run to the hills with needle and thread in hand🏃🪡🧵. Hee! Hee!
| Trimmed cross stitch piece and cut strips for finishing. |
I pieced the strips using a 1/4" seam allowance, and then sewed those strips to the stitched piece. I then squared up the piece by trimming.
| The strips are sewn. I am fixing to sew the stitched piece to the strips |
I pinned a bit of crocheted lace in place along seam line and sewed a tacking stitch down on each side.
| Pinning the crocheted lace in place along seam line. |
| Tacking the lace near the edges of the stitched piece. |
| I trimmed mine so my piece would measure 5" squared. |
I measured my stitched piece to determine size of backing (measurements may vary for your piece depending how much you trim and your seam allowance). Mine measured 5 " squared.
| Measuring my piece and squaring it up. |
I cut 2 pieces of fusible interfacing like PF 44 5" squared (one for stitched piece and one for backing)
| I cut the fusible webbing, backing and muslin . |
I cut my backing fabric slightly larger than my stitched piece.
I also cut a piece of white muslin about 5 1/4' . ( This is a tip that I saw on Vonna Pfieffer's video).
Follow manufacturer's instructions and adhere fusible to back of stitched piece and to the back of the backing fabric.
| Adhered fusible to stitched piece and another to backing fabric . |
Layer white muslin on the back of the stitched piece . Trim any excess white fabric off.
Pin muslin in place.
| Muslin pinned in place |
Placing right sides together , sandwich stitched piece and backing fabric. I add extra pins..
| Pinned and ready to sew. |
I used a 1/ 4" seam allowance and backstitched at the corners. I completely sew off the edge of the fabric . Lift the presser foot turn the fabric and begin at the edge.
| Sew off the edge and backstitch corners. |
I left a 2" opening along the seam line. Sometimes I leave the "stuffing opening in the seam line; sometimes I make a small hole in the backing fabric after I have sewn all the way around ( that is a preference choice and is totally up to you )
Trim excess backing off of the pillow form and clip the corners to reduce bulk.
| Trimmed and corners clipped . |
Press seams open.
| Press seams open. |
Turn inside out . Using your chopstick. Smooth out seams inside pillow form.
| Turn inside out and smooth out seams and corners. |
Stuff with preferred stuffing. I pull my polyfil apart and then stuff it tightly small bits at a time pushing it with my fingers and chopsticks. Stuff until it is at the tightness that you prefer.
| Filling pillow with polyfil. |
Once stuffed bring seams together and pin closed. On this piece , I used tan cotton thread to blind stitch and close the opening. Sink your knot into the fabric and take tiny stitches along the seams. Sink your ending knot into the pillow and pull the string out the backing and clip.
| Pin seam together and whip stitch closed. |
Once I have finished my pillow, I like to turn my pillow over , spritz it with water and press my pillow with an iron slightly. This is a personal preference for a flatter look that I prefer. -Again that's just a personal preference.
Wahlah! Your pillow is finished.
Wheew , I do not hear any sirens yet! Do you think I did ok on finishing this little jewel? I sure hope so. When I finish a pillow , I always think about my Nanny who was a doll maker and a wonderful seamstress. I hope I did her proud . I am always inspired by her many finishes that I own and treasure.
I also invite you to visit these wonderful ladies who are amazing finishers and who share their techniques on Youtube. Vonna Pfeiffer and Helen D. .
Thank you for taking the time to see how I finished my little pillow.
Happy Stitching and Quilting, y'all
Melisa
"It takes good effort to begin and great effort to complete a task."
Hugs and Stitches!!!!🤗🧵❤
Dedicated to my dear sister, Amy. I love and miss you so much.❤❤👼 You were and still are a blessing in my life.
Hello there , Winter Sunshine!!! Mr. Pinker and I are out and about enjoying the beauty of nature and having loads of fun on our camping adventure , but before we left home, I had the chance to finish a small winter stitch called "Snow Tart" .
"Snow Tart " is a simple and quick stitch and can be whipped up in two shakes of a lamb's tail. In fact, I stitched this in a little over 1 1/2 hours- that's not too bad , is it?
DMC 221 is the floss color that I used, but wouldn't it look so lovely in blue?
❄❄❄❄❄❄❄❄❄❄❄❄❄❄❄❄❄❄
If you are interested in stitching this piece, just grab , the images. For printing tips, refer to the post Tips for Printing which has loads of tips from my sweet friends.
Remember all of my designs are for personal use only. Please do not sell my designs, rename or rechart my designs for profit. Yes that has happened. 😔
❄❄❄❄❄❄❄❄❄❄❄❄❄❄❄❄❄❄
I finished mine into a little tart tin. I am no expert and in fact, I am a fly by the seat of my pants kinda gal, but here is how I finished my stitch into a tart.
INGREDIENTS
tart tin
scissors
thread
needle
cross stitch
cardboard or mat board
glue
batting
backing fabric
DIRECTIONS:
🧵1. After stitching the design. I found that it would fit in a 3 1/2" tart tin. I used a template to draw out 4 circles on a piece of cardboard . I used cardboard because I am thrifty and that is what I had on hand. 😀
🧵2. I glued 3 of the cardboard circles together using Aleene's Tacky Glue and set them aside to dry.
🧵3. I took the 4th circle , used it as a template and cut out backing fabric larger than my circle.
🧵4. Using needle and thread, I created a running stitch about 1/4" from the edge of the fabric and then gathered it around the 4th cardboard circle and secured it.
🧵5. Once the other circles were dry, I cut 5 layers of batting into slightly smaller circles and layered them on top of the cardboard circle.
🧵6. I then followed the same process as I did in creating the backing circle by gathering the stitched piece to the batting covered cardboard circle. I then laced my cross stitch .
🧵7. I took the "Backing Circle" and the "Stitched Circle" placed them together and using needle and thread whip stitched the circles together.
🧵8. I just sat my finished cross stitch on top of the tart tin. It did not fit snug down in the bottom of the tart. Mine is more like a lid where I can store trinkets in the tart. I will use the tart tin for other finishes after winter.
I am hoping to create some more tart finishes this year, and my mind is already in the clouds dreaming of the next one.
Well, Sweeties, that's my stitch for the day. What do you think? Do you think it looks ok? I am pleased for my 1st "tart finish".
Before you leave, I want to thank you for dropping by for a sweet visit. It always brightens my day when you come by. Have a beautiful day and ...
As always...
Happy Stitching and Quilting, y'all
May I tell you again how excited I am to have my Rudolph the Red Nosed Reindeer quilt finished? Lol!
I shared my finish yesterday, and I am still over the moon. I think because it took so long. Oh, and of course there is a lot of red in the quilt- you know me and my love affair with the color red!!!❤❤❤
Welcome, y'all and a very lovely Tuesday to you.
Finishing this little quilt inspired me to create a quick stitch, called Prim Rudolph.
| Isn't the white plastic reindeer the cutest? It is from the Dollar General this year. |
It is just a simple flying reindeer with some scattered snowflakes. A winter blizzard is Rudolph's favorite weather to fly in.
| Santa Clause sampler and Prim Rudolph |
So let me tell you about my finish. I bought this string of unfinished wooden snowflakes at the Dollar Tree this year.
Because I have been into junk journaling here of late, I decided to do what my Nanny would say is "Messin' and Gommin". That means playing messily with paint, glue , paper and even the glittery stuff. Eeeh! I just love a bit of sparkle!
After stitching the piece , I drew out a circle on a piece of cardboard and added 2 layers of batting. I layered my cross stitch on top and using needle and thread gathered the stitch on the back . In order for my stitch to fit on the Dollar Tree snowflake, I lost some of my stitched snowflakes, but I was ok with that.
Then I took off one of the snowflakes from my string and painted the snowflake white. After it dried thoroughly, I decoupaged a small section of Rudolph sheet music which I found as a freebie from Pam Kessler on her blog House of Hawthornes. In order to cut the holes into the paper of the snowflake, I pushed a toothpick through the front side of the covered wooden snowflake and smoothed it over on the back. It took some time and was sticky, but I sure do enjoy making a mess. 😁😀✨ Next, I decided to add a little sparkle an sprinkled iridescent glitter on the snowflake. Once everything was dry, I centered my Prim Rudolph in the center of the snowflake and adhered it. You can not see much of the music sheet, but it was all about the process for me.
Prim Rudolph is a "Choose your own colors " chart, but if you are interested I used DMC 610, 3371, Blanc and 815. The design size is 43 x 33 and if stitched on 14 count aida like mine it would measure around 3 1/8" x 2 3/8".
🦌🦌🦌🦌🦌🦌🦌🦌🦌🦌🦌🦌
If you are interested in stitching this piece, just grab , the images. For printing tips, refer to the post Tips for Printing which has loads of tips from my sweet friends.
🦌🦌🦌🦌🦌🦌🦌🦌🦌🦌🦌🦌
Tomorrow my youngest daughter will be arriving home for the holidays.
I am very excited to have her home for the next few weeks! So today I will be refreshing her room , washing linens and such. Well I am off to get some of those chores completed and then perhaps I can enjoy some stitching time in the afternoon.
Are you enjoying a day of crafting or is it a chore day for you?
Thank you for spending a few minutes of your day with me and I wish you the most lovely day.
As Always...
Happy Stitching and Quilting, y'all
Melisa
Love , Create, Enjoy!
Hugs and Stitches!!!!🤗🧵❤
Rudolph Freebies that might interest you.
Yukon's Christmas List and other freebies- Cross stitch freebies from Beth at Heartstring Samplery.
Printable Rudolph Sheet Music- free printable vintage sheet music provided by Pam Kessler on her blog House of Hawthornes
Rudolph Cross Stitch Freebie- A free cross stitch from The Stitcherhood.
Reindeer Embroidery Hoop Ornament- A darling quick embroidery from Heather at Homemade Heather blog.
A Berry good day to you, sweet peas! 😀🍓
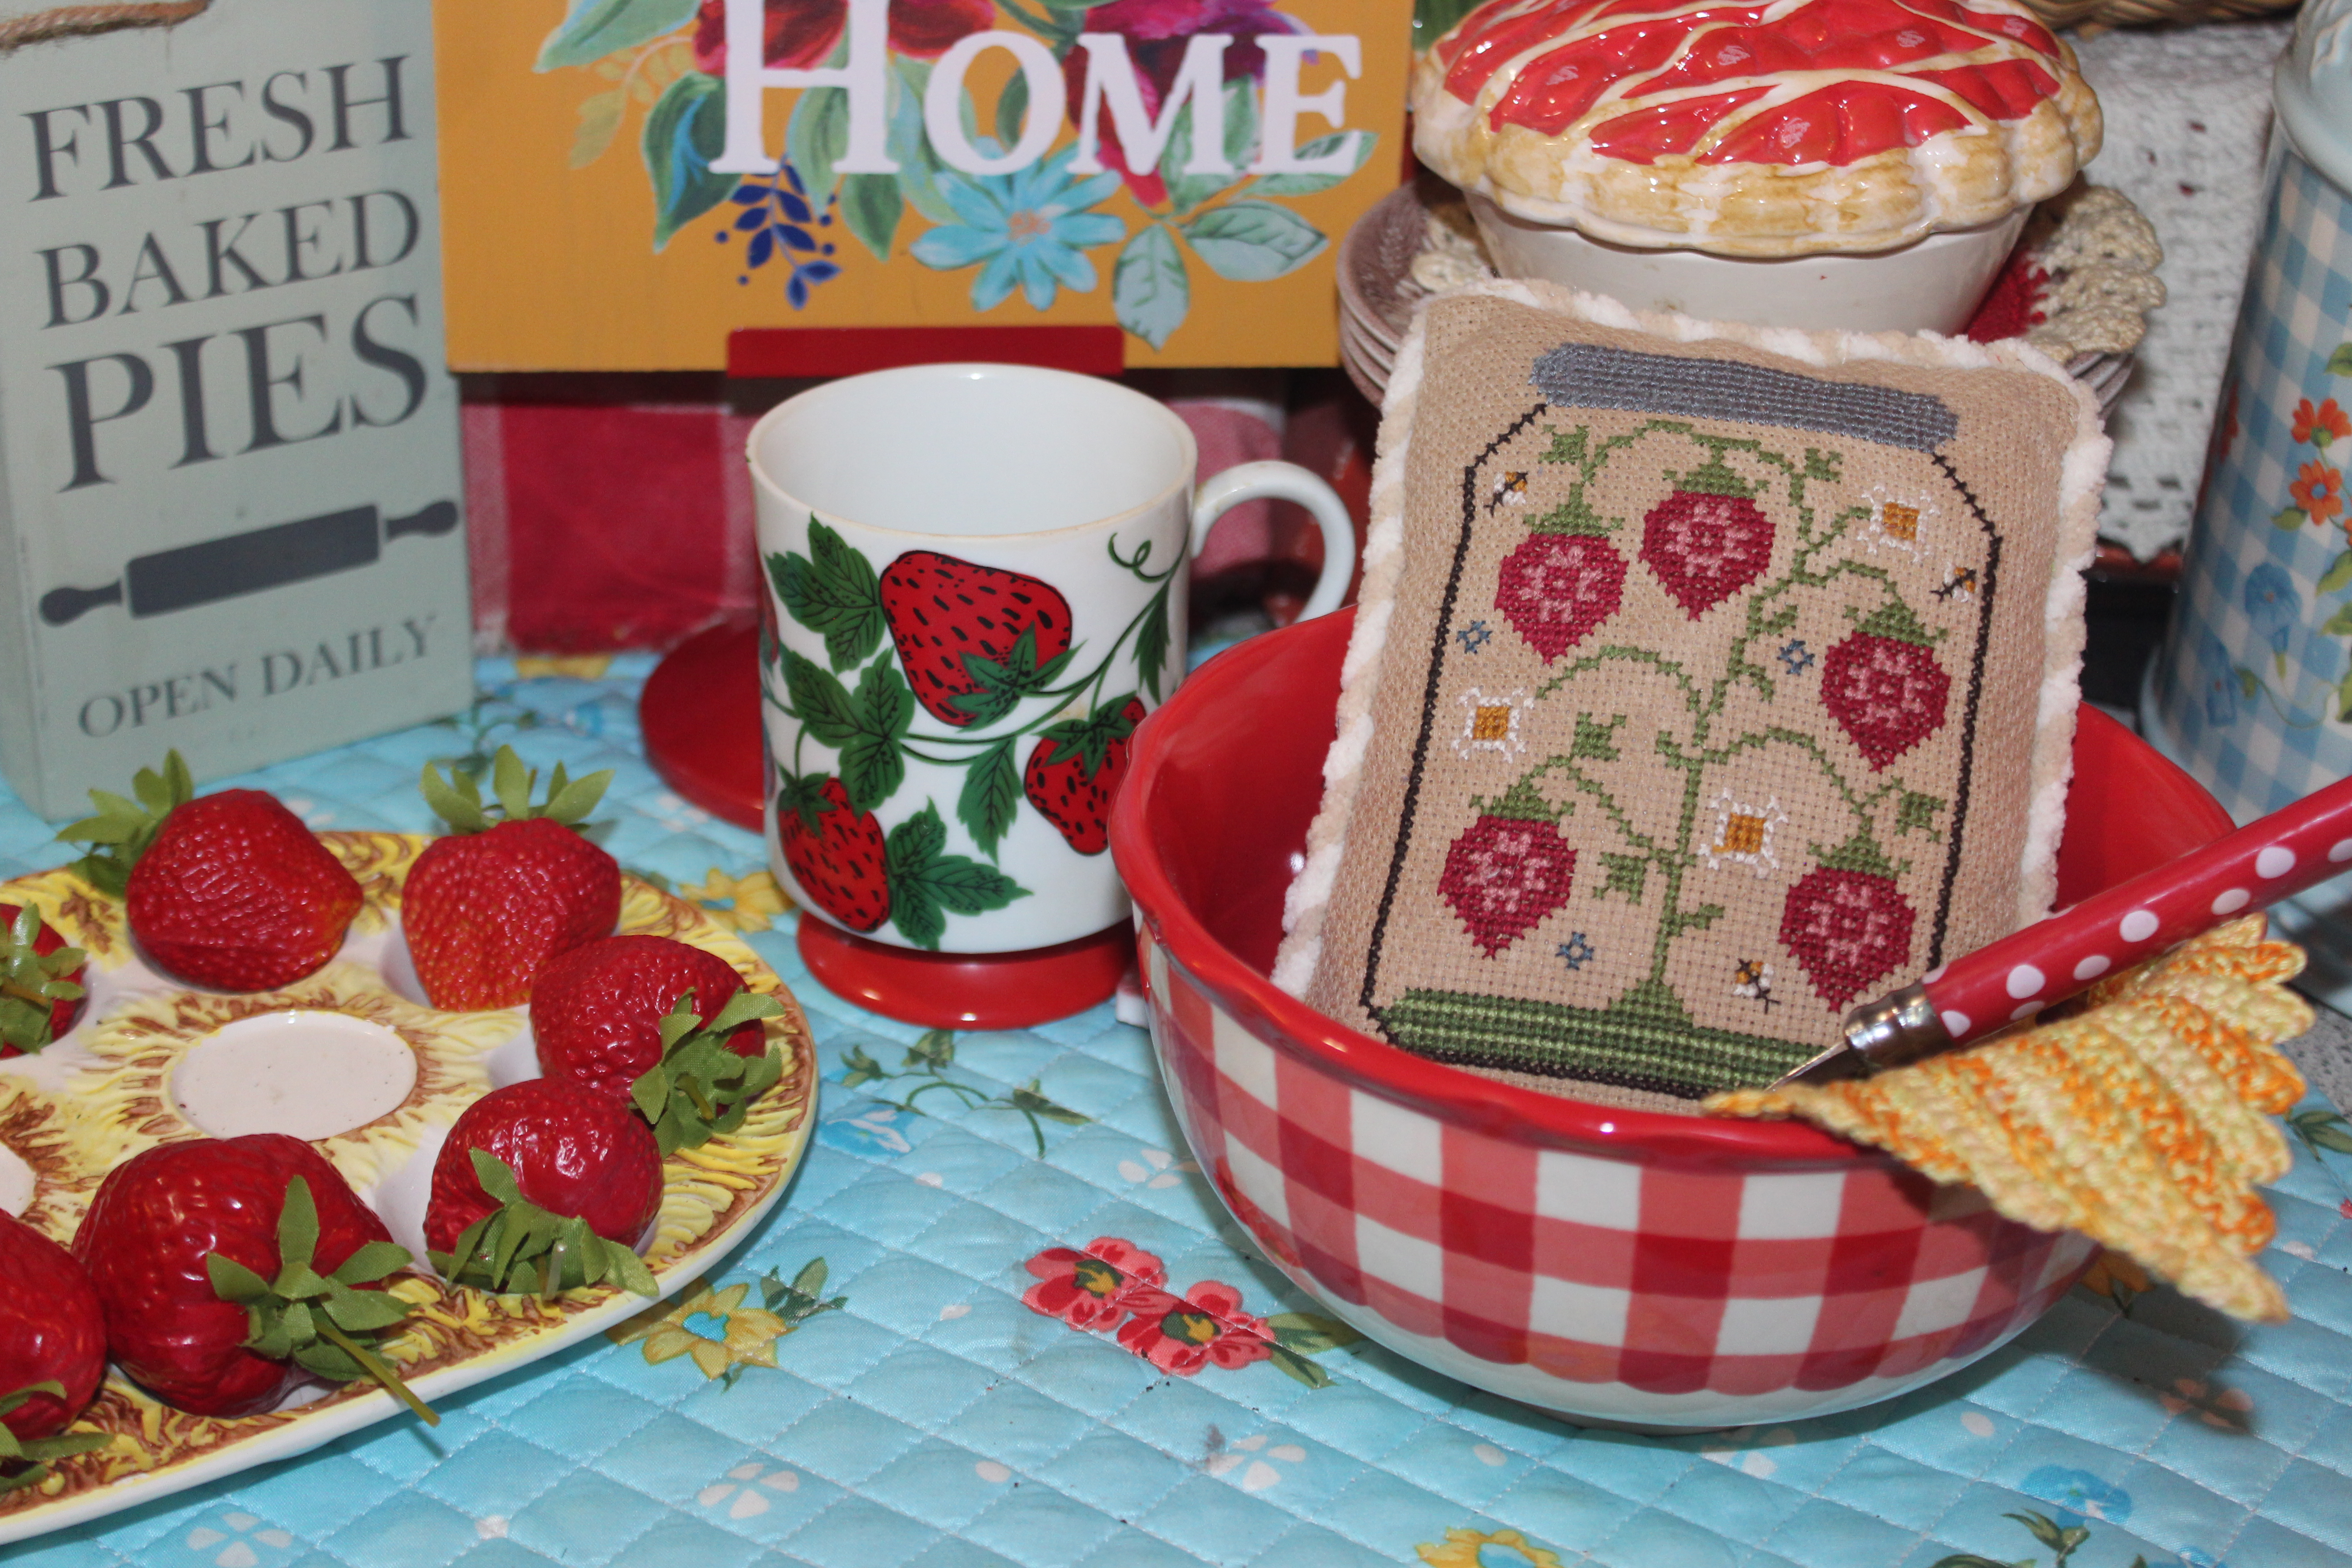
I decided to stitch something simple . It is no secret that I love baskets and blooms so I created a little basket of flowers surrounded by buzzing bees- something that can be whipped up in a couple of hours.
This stitch is called Mary's Basket Strawberry Pinkeep in memory of my Granny. Granny lived in a little log cabin deep in the woods. She often would explore her property and relocate flowers to whatever container she had available for planting . She certainly had a green thumb.
| Mary's Basket before being finished as a berry. |
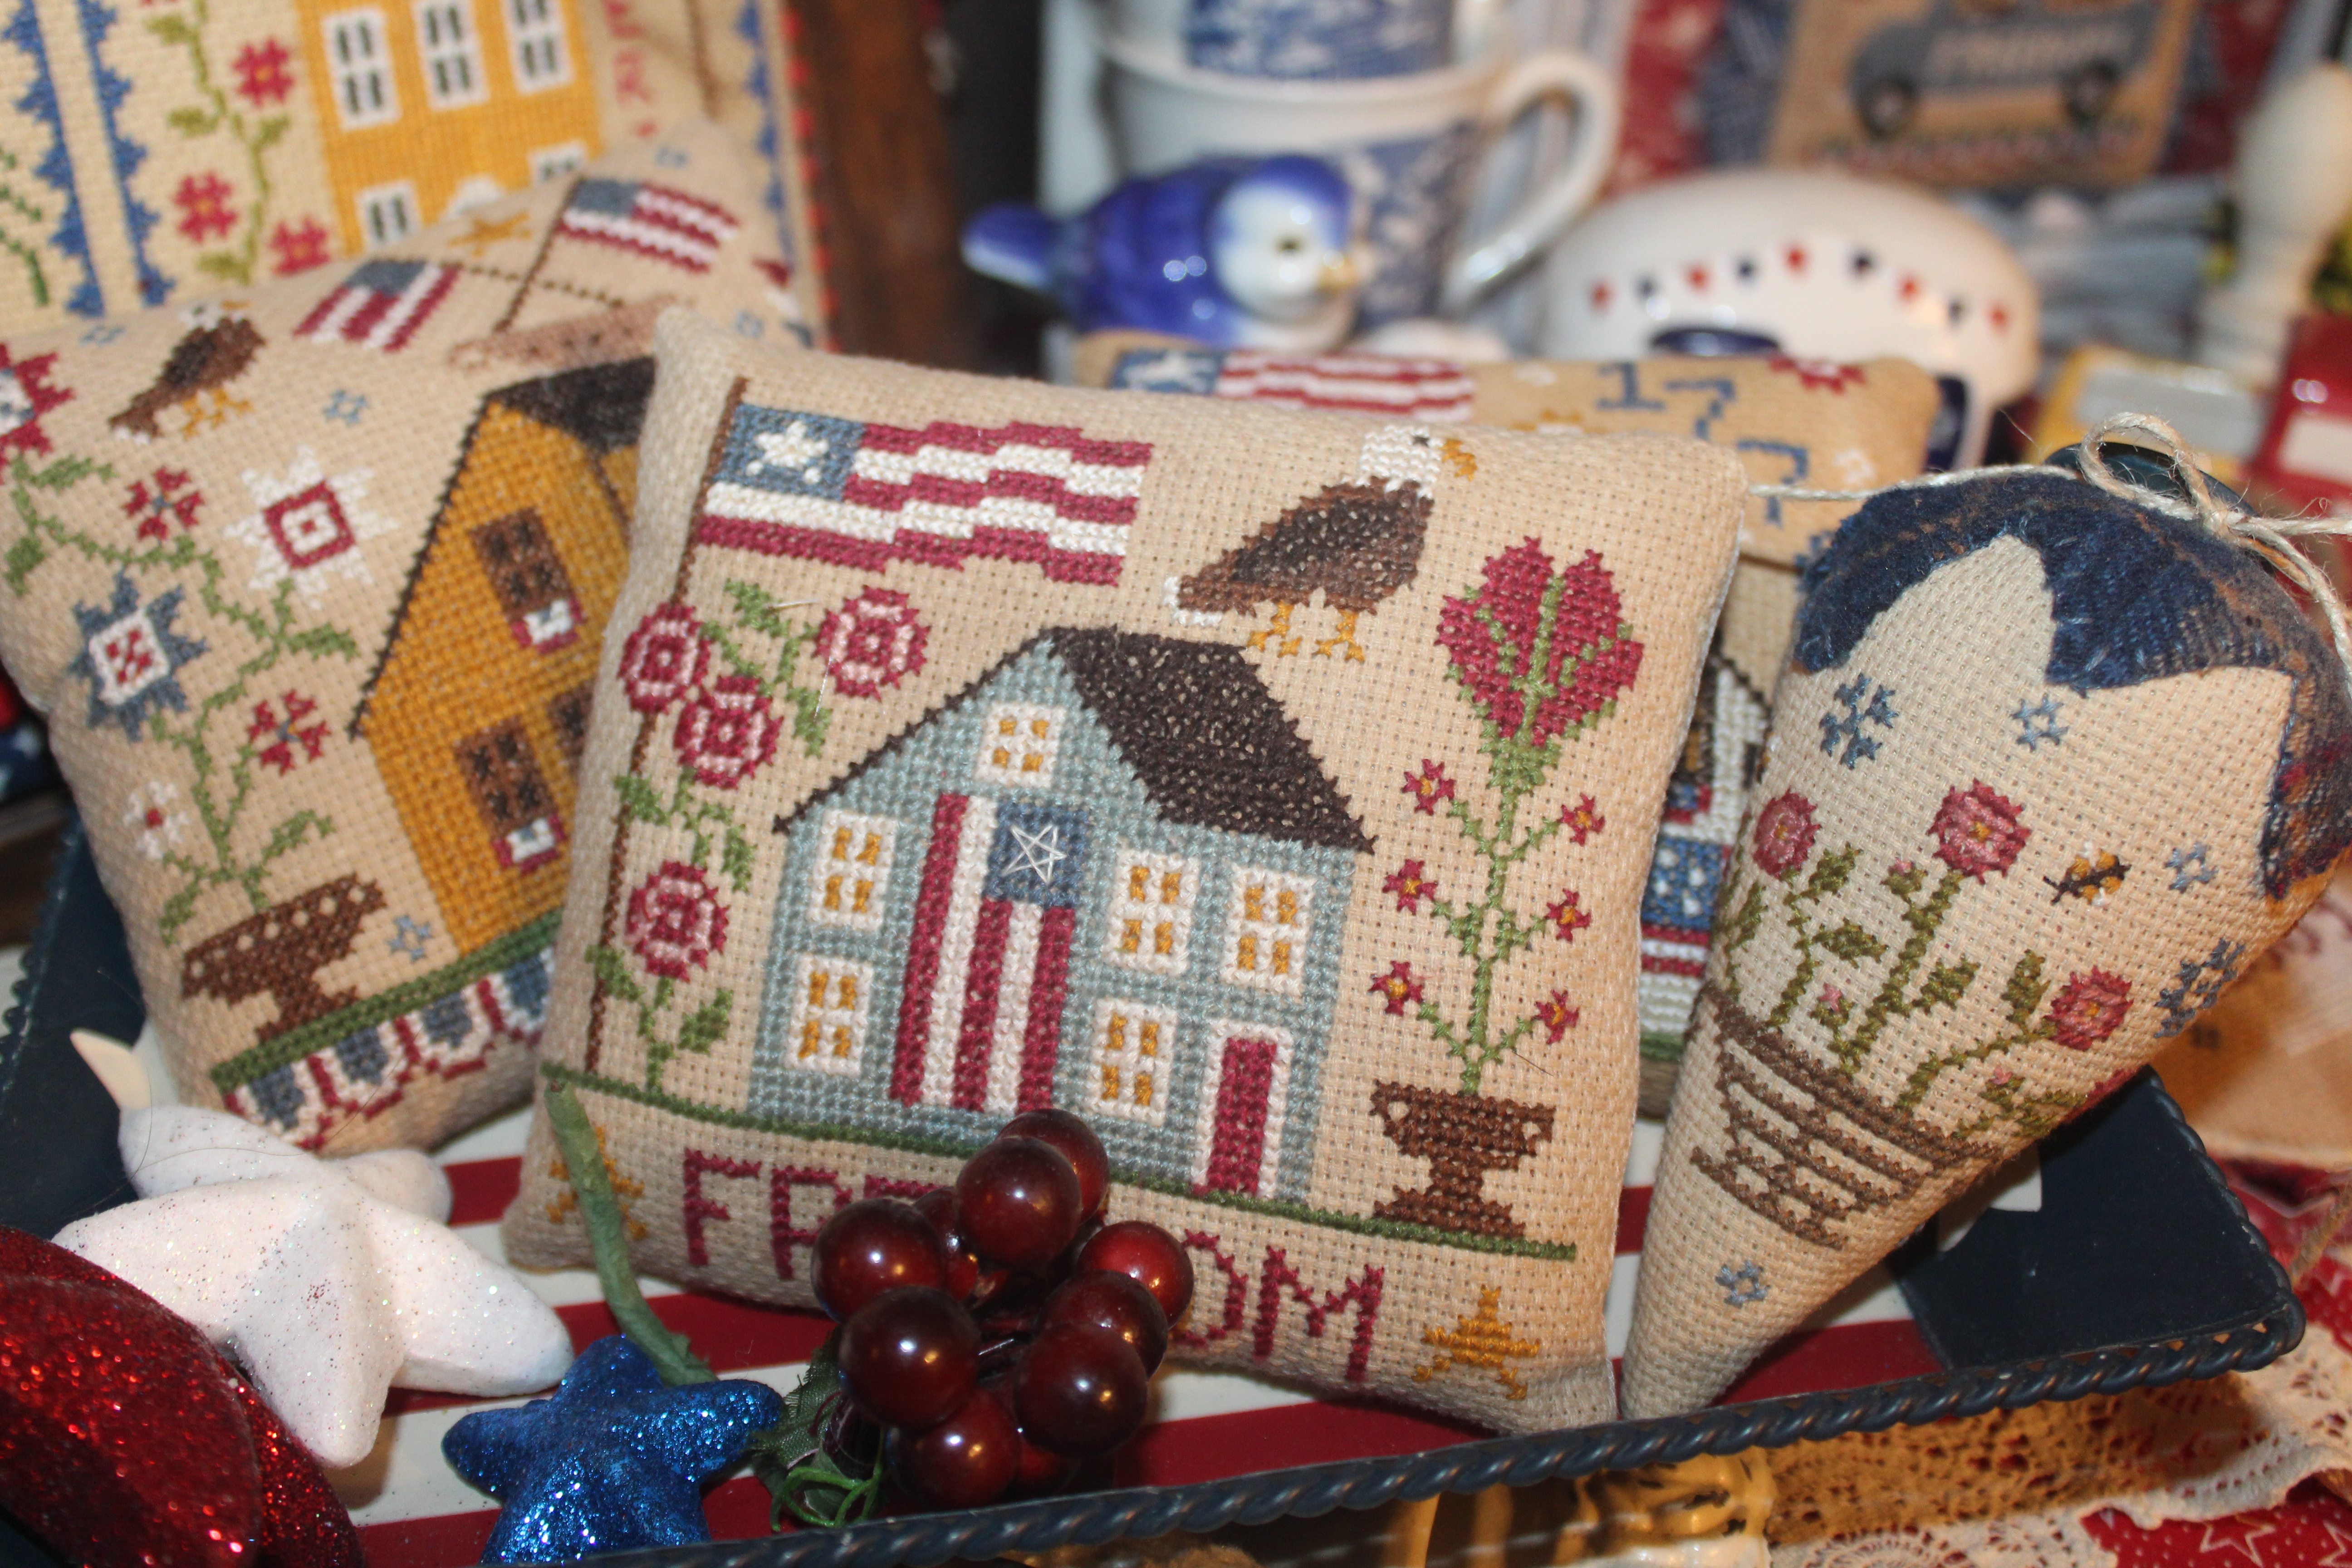
| Mary's Basket Strawberry, Freedom Saltbox , and Lucinda Hawkin's Liberty House ( I haven't shared this one yet. ) |
I stitch my little designs for fun and to decorate my home. I feel very blessed by this community and love sharing my little charts, but I am not a professional designer. And I do not have professional software. Thank you for understanding . I am always grateful for your kind encouragement , your visits, and for stitching my little designs.
For printing tips, refer to the post Tips for Printing which has loads of tips from my sweet friends.
I stitched my berry on 14 count aida that I tea / coffee dyed ( Click here to see how I tea dye my fabric) .
You certainly do not have to finish Mary's Basket as a strawberry. But if you do decide to finish it as a strawberry there are many great tutorials on the web and Youtube on how to turn your cross stitch into a strawberry finish. Below are 2 sweet ladies that have videos on Youtube. If you know of any others, please let me know.
Happy quilting and stitching, y'all