Good morning, Sunshine. Please join me in the quilt room. I am sewing up a storm and need all of the help I can get. 😀
On the agenda today is Scrappy Hourglass blocks.
Grab some scraps and pull up a seat.
Do you mind cutting those fabrics into 4 1/2" blocks? I will be making 3 1/2" unfinished blocks today.
I always forget the formula for hour glass making. Are you like that ?
Anywhoo. I have listed the formula and a tutorial mainly to help this old gal out when piecing. You can bet your bottom dollar I will be referring back to this post quite often. 😀🤔
HOURGLASS BLOCK FORMULA FOR CUTTING FABRIC- Take the desired finished block size you have in mind and add 1 1/2" . For example I want a finished 3 " FINISHED hour glass block so I add 1 1/2" and cut the fabrics accordingly.
3" + 1 1/2" = 4 1/2"
FABRIC NEEDS FOR 4 SCRAPPY HOURGLASS BLOCKS
Cut 4 - 4 1/2" x 4 1/2" squares from 4 different fabrics
DIRECTIONS: ( Use 1/4" seam allowance. )
🧵1. Cut 4 4 1/2" x 4 1/2" squares.

🧵2. Cut each square on the diagonal twice. You will end up with 16 HST.
 |
| Lines are drawn to cut on the diagonal twice. |
🧵3. Arrange 4 triangles into a pleasing scrappy hour glass block.
 |
Arranging the 4 scrappy triangles
|
 |
| Pair the triangles off. |
🧵4. Sew 2 triangles together down the sides of the triangle creating a flying geese unit.
 |
| The two triangles are sewn together. |
🧵5. Repeat for the 2nd pair of triangles.

🧵6. Take your the units created in Steps 4 & 5 to the ironing board and arrange the triangles as you would when making the scrappy hour glass block. Press seams in opposite directions so that the seams nest.
 |
| Arrange triangle on the ironing board . Press seams in opposite direction so seams nest. |
🧵7. Place the triangle units right sides together, and pin in place where the seams nest and at each end.
 |
| Units are ready to flip and pin. |
 |
| Pin triangles together at center and corners. |
🧵8. Sew the units together down the base of the triangle units.
 |
| Sewing the hourglass block. |
🧵9. Take hour glass block to iron board and press the seams open to reduce the bulk.
 |
| Seams pressed open. The dog ears need to be clipped. |

🧵10. Return to the cutting mat and trim the dog ears and square the block up. It should measure 3 1/2" unfinished. Using a square ruler , line up the diagonal drawn line on the ruler with the diagonal seam .
 |
| Lining up the diagonal seam with the diagonal line on the ruler. |
Trim on the top and side. Rotate the block and repeat the same step - lining up the diagonal and previous trimmed sides then proceed to trim .Remember to check your measurements before continuing to trim.
 |
| Using a ruler with a diagonal line, line up the diagonal seam and trim 2 sides. |
 |
| Rotate the block and trim the other 2 sides. |
🧵11. Using the remainder of the triangles which were cut in Step 2, continue making hour glass blocks. You will end up with a total of 4.

🧵12. Wahlah! Your cutie patootie scrappy hourglass blocks are complete!

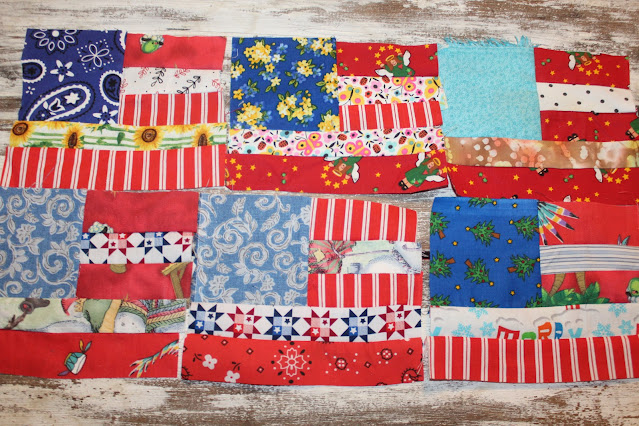
Today I will be making more Scrappy Hourglass Blocks. These are going to be added to the Sunny Rails and Happy Trails quilt that I am working on.

Thank you so much for joining me in the quilt room today and...
As always,
Happy Stitching and Quilting, y'all
Melisa
Time is a gift; use it wisely.
Hugs and Stitches!!! 🤗🧵
Dedicated to my dear sweet, baby sister, Amy I love and miss you , Amo. ❤❤❤❤


