A Berry good day to you, sweet peas! 😀🍓

I have made many wool strawberries and have even made a cross stitch berry or two, but I have never designed my own berry.
So with a bit of sweet encouragement , I decided to give it a whirl.
( Thank you, Sharon; I sure hope you like this berry🤗).
🍓🍓🍓🍓🍓🍓🍓🍓🍓🍓🍓🍓🍓🍓🍓🍓🍓🍓🍓🍓🍓
I decided to stitch something simple . It is no secret that I love baskets and blooms so I created a little basket of flowers surrounded by buzzing bees- something that can be whipped up in a couple of hours.

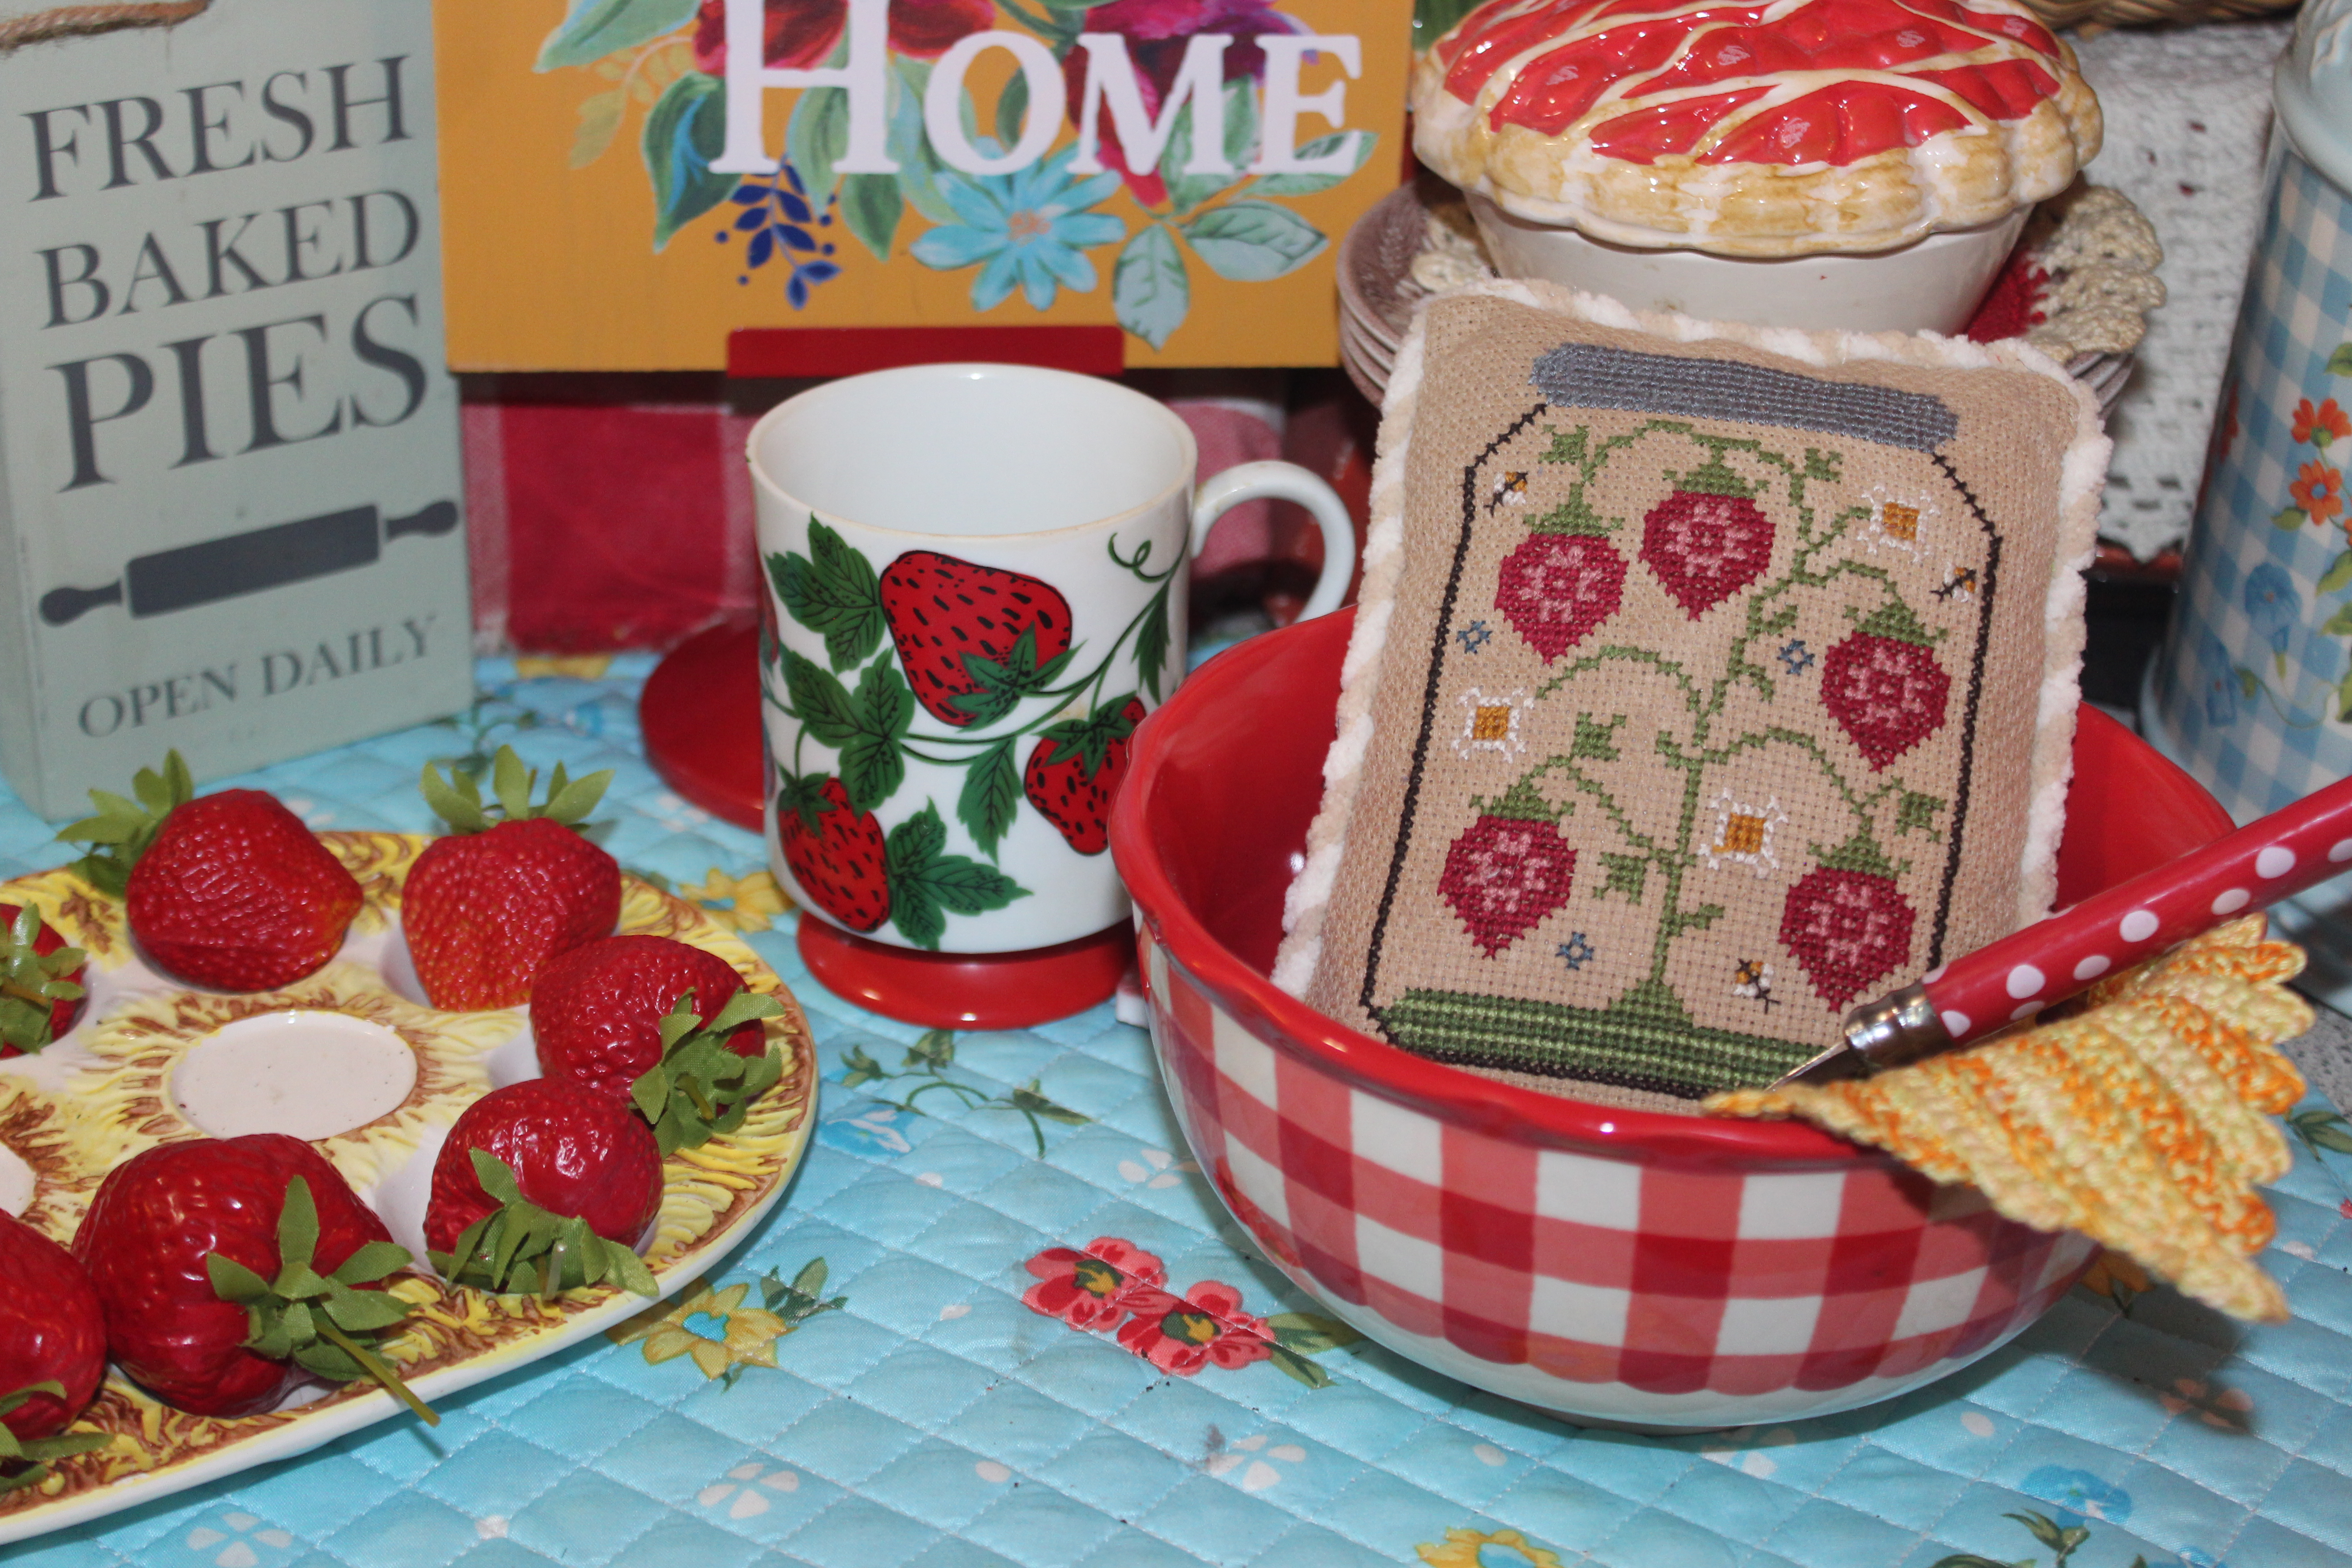
This stitch is called Mary's Basket Strawberry Pinkeep in memory of my Granny. Granny lived in a little log cabin deep in the woods. She often would explore her property and relocate flowers to whatever container she had available for planting . She certainly had a green thumb.
 |
| Mary's Basket before being finished as a berry. |
 |
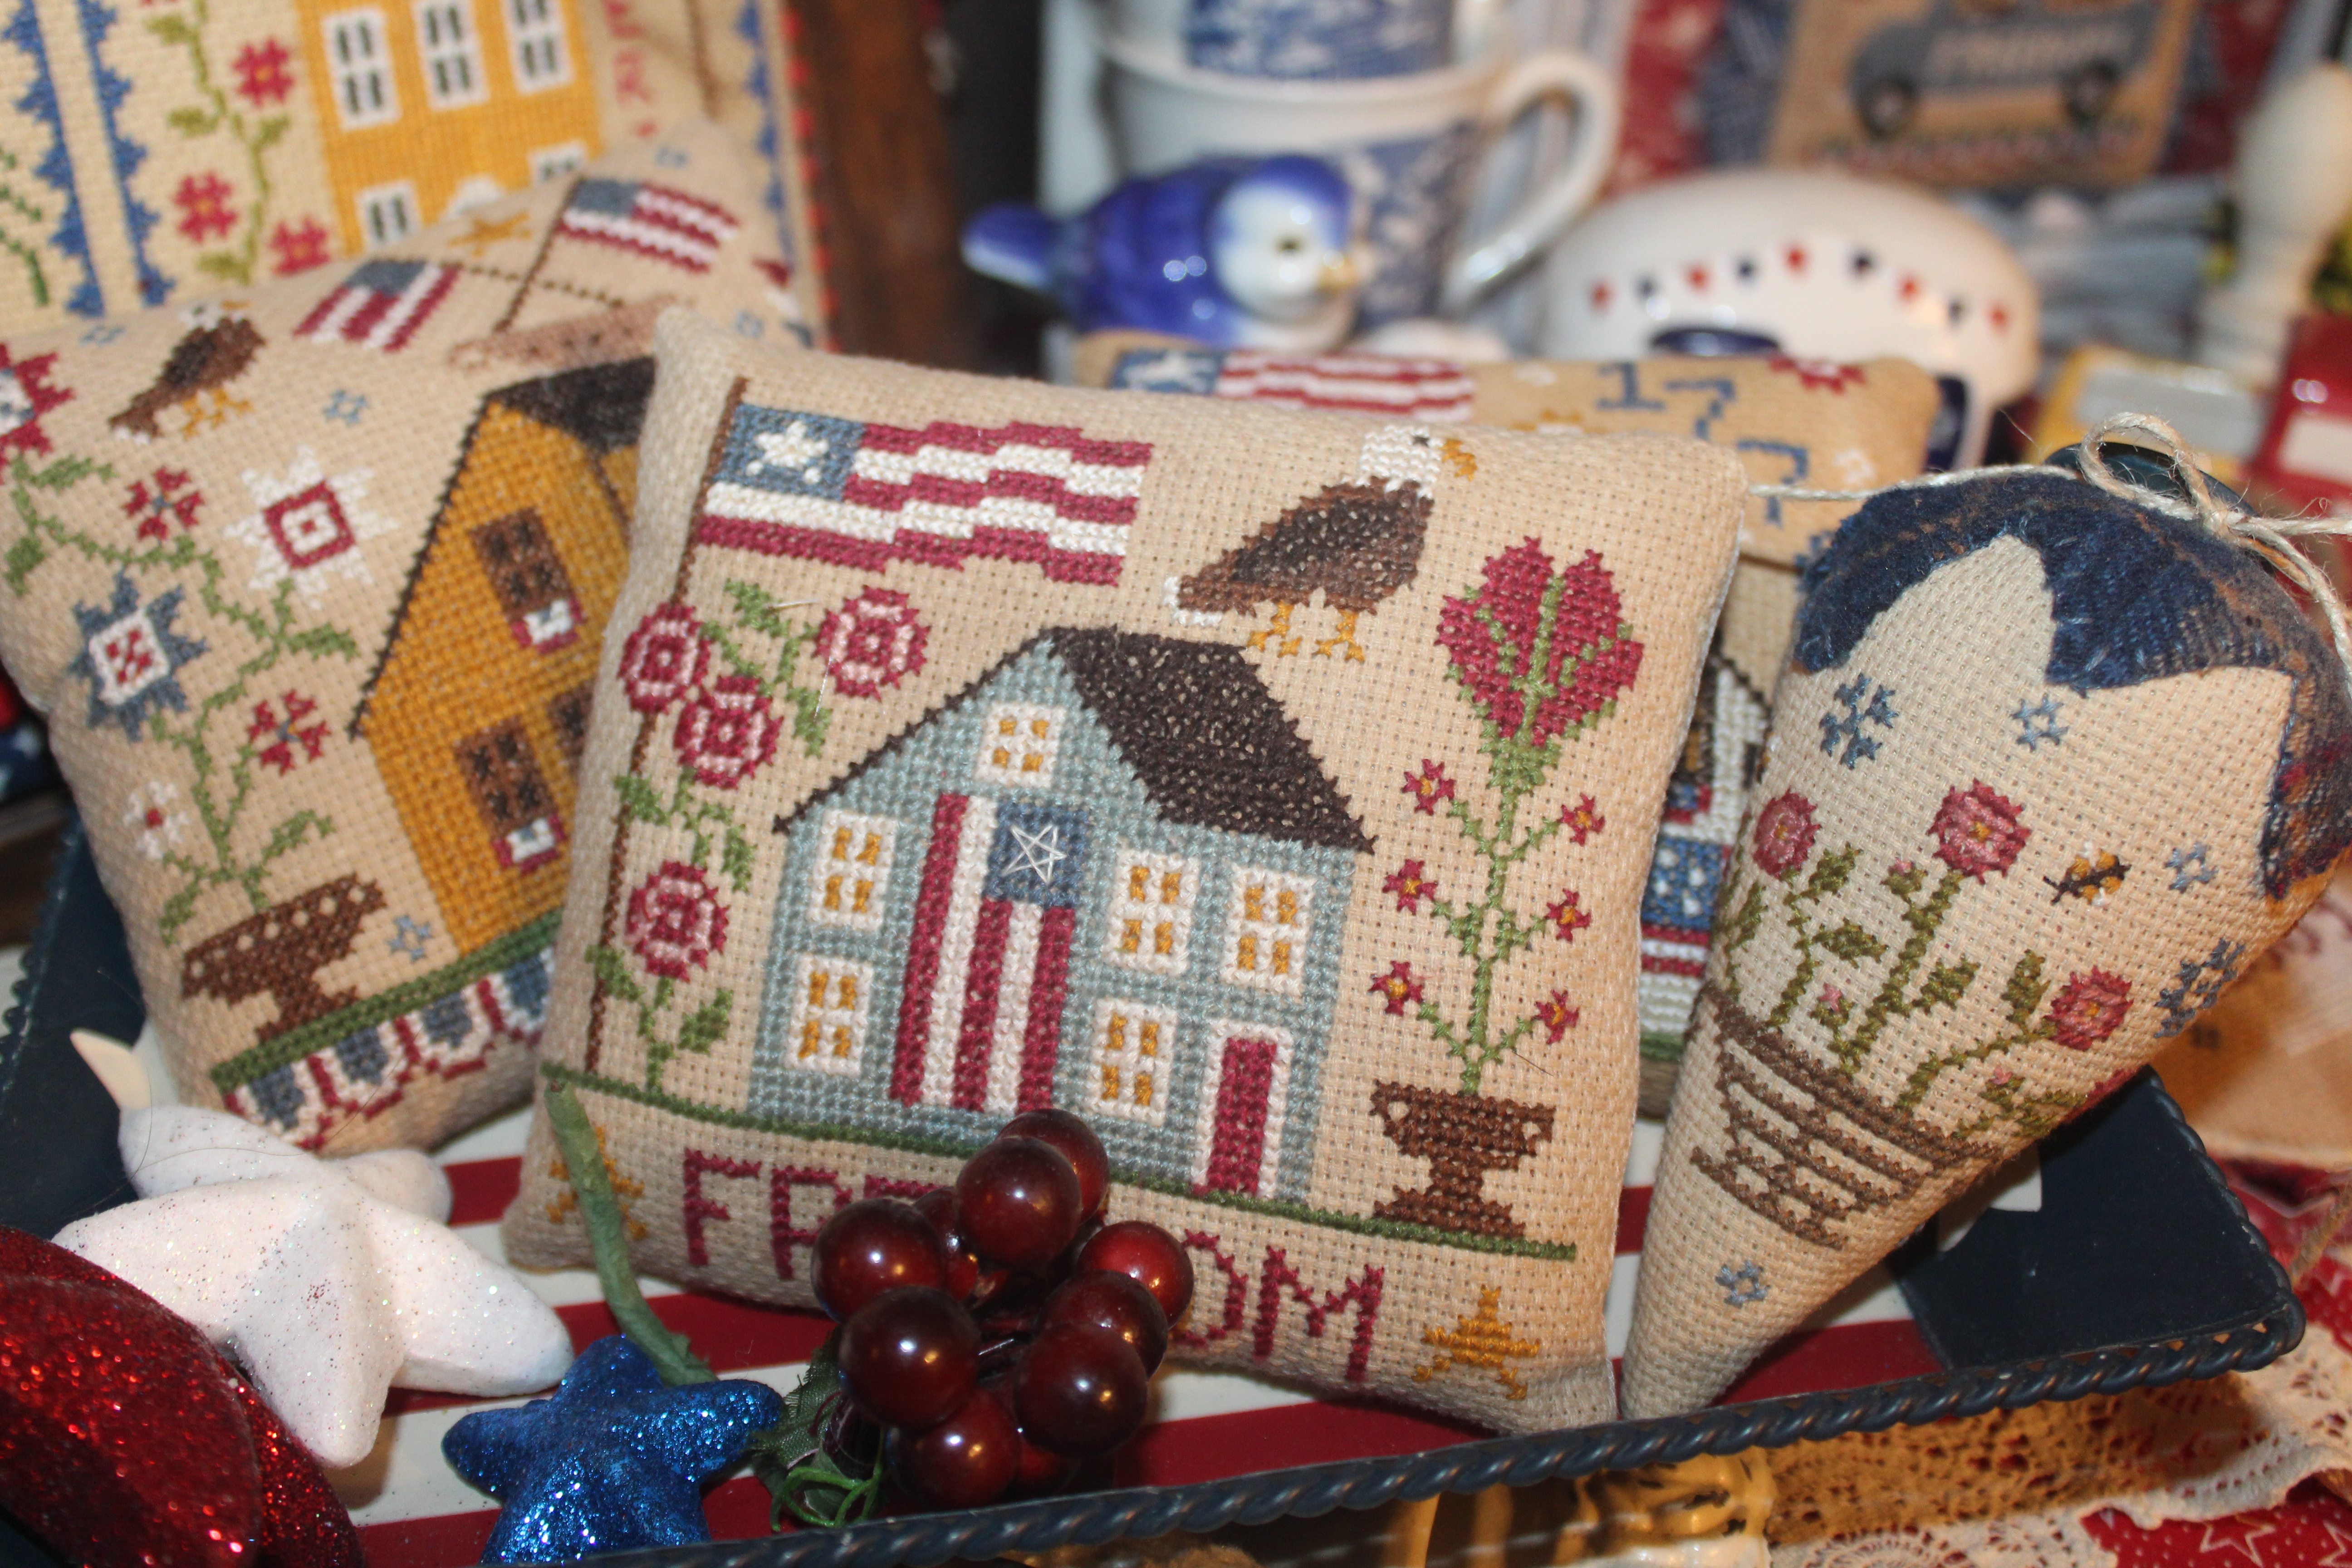
| Mary's Basket Strawberry, Freedom Saltbox , and Lucinda Hawkin's Liberty House ( I haven't shared this one yet. ) |
If you are interested in stitching Mary's Basket Berry ,grab the images below. Many of ya'll know but I always encourage you to read my little disclaimer and note about getting my charts.
NOTE: Normally I have been able to create links to the charts and instructions which were in JPG form. For some reason, recent updates on Google Docs. has prevented me from doing that and I am not able to create a pdf without having to deal with storage issues. Many dear stitchers say they right click, save the image and then print. I think some have copied and pasted it to a Word document that they can print off as well. I hope you are able to find a way to enjoy this chart. You will have to click each page to save. Thank you so much for your patience and understanding and for all of the helpful tips and ideas.
I stitch my little designs for fun and to decorate my home. I feel very blessed by this community and love sharing my little charts, but I am not a professional designer. And I do not have professional software. Thank you for understanding . I am always grateful for your kind encouragement , your visits, and for stitching my little designs.
For printing tips, refer to the post Tips for Printing which has loads of tips from my sweet friends.
I stitched my berry on 14 count aida that I tea / coffee dyed ( Click here to see how I tea dye my fabric) .

You certainly do not have to finish Mary's Basket as a strawberry. But if you do decide to finish it as a strawberry there are many great tutorials on the web and Youtube on how to turn your cross stitch into a strawberry finish. Below are 2 sweet ladies that have videos on Youtube. If you know of any others, please let me know.
GREAT TUTORIALS OS STRAWBERRY MAKING
1. Vonna Pfeiffer-
🍓🍓🍓🍓🍓🍓🍓🍓🍓🍓🍓🍓🍓🍓🍓🍓🍓🍓🍓🍓🍓
THIS IS HOW I CREATE MY STRAWBERRY. Now, ya'll, I am not an expert and I have been known to take thrifty shortcuts. Lol. But here goes.....
1. Iron the piece.
2. To the backside , add a light Pellon interfacing such as P44F. ( When I do not have interfacing , I make a lining for the strawberry from scrap lightweight fabric. )
3. I have provided a strawberry template. You may need to resize it to fit your stitched piece. 1/4" seam allowance needs to be added when cutting the fabric.
4. Center the strawberry template over the stitch. Be aware of where you want the design to go when centering the template . I used a pencil to draw the strawberry design onto the back of the stitch. This will be my sewing line. Cut 1/4 " around the strawberry shape.
5. Sew the sides together. I slightly curve the tip rather than making it pointy.
6. Turn the strawberry to the right side and using a blunt instrument such as a chopstick to smooth out the point.
7. Along the top of the stitch with needle and thread create a long running stitch for gathering later.
8. I stuff my strawberries with sawdust and polyfil. Where do I get my sawdust? From Mr. Pinker's workshop. As I stuff, I use my wooden chopstick to pack the material.
9. I begin by packing the tip with sawdust and then add layers of fluffed polyfil and sawdust.
10. When I have the strawberry stuffed, I pull the thread along the top of my strawberry and draw it to where it is almost closed .
11. I then tie it and begin adding more stuffing and sawdust using the chopstick to stuff the gathers along the top of the strawberry as much as possible.
12. Once that I am satisfied with how the strawberry is filled. I close the small hole at the top .
13. I then add the cap . This is where you can be creative as you want to be. I added a wool cap to my strawberry and used the blanket stitch to attach the wool to the strawberry. I embellished the top with a large button and a jute twin bow. You can add lace, ribbons, flowers- whatever you imagine!!!
14 .Afterwards, I used a 2 strands of floss and created large x's along the seam in the back of the strawberry.
WahLah! Your berry is completed!!!
I am in hopes that bigger berries are on the horizon , but I am quite happy with my first berry. And I am even happier that you stopped by to see my sweet berry.
Have a sweet day, my friends and ...
As Always...
Happy quilting and stitching, y'all
Melisa
Hugs and Stitches!!! 🤗❤🧵
The bloom may be brief but the memory of its beauty will last a lifetime. - Doe Zantamata
Just a few more stitches and this basket will be complete. I will be sharing it on Friday. I hope you will drop by to see it. Hugs.
Dedicated to my dear sister, Amy .I miss you , Amo . Love ya.


This strawberry is so cute! Thanks for providing all the free patterns, happy stitching!
ReplyDeleteYou are so kind, Gretchen. Thank you so much. I am pleased how my 1st berry came out. I hope to make a few more in the future. Happy quilting.
Delete(Little Penpen) Love your strawberry!!
ReplyDeleteAaaw thank you so much, Penny. It was a fun piece to work on and it stitched up in no time. I hope you are having a lovely week.
DeleteThe Strawberry is beautiful and you are even sharing the pattern for the shape, thank you so much, I love it!
ReplyDeleteHugs
Aah thank you so much, Diana. I was so pleased how the berry turned out. I was a little scared at 1st to cut the fabric, but it all worked out. Have a great evening.
DeleteYour berry is darling, Melisa! Well done!
ReplyDeleteOh thank you so much, Robin. I am so happy with it ; I can not wait to make another. Happy stitching.
DeleteI love this strawberry - I've never made anything like this before and would love to try it. I'm going to save the pattern and give it a shot. Thank you for the pattern. Blessings
ReplyDeleteOh I hope you enjoy it, Donna. I made this one very simple. I was sorta scared to cut my fabric, but it all worked out. I bet you will do a beautiful job. Hugs and blessings.
DeleteWow, what an original way to end it, Melisa!! A beautiful design and a spectacular finish !!
ReplyDeleteHugs
Oh thank you so much, dear Isabel. It was so much fun to finish a stitch in a different way. I hope to make more real soon. Have a lovely week. Hugs.
DeleteMelisa, I am totally in love with your Strawberry and your instructions are perfect and easy to follow. Not only is it called "Mary's" , my name is also Mary but because it is just the sweetest. Thank you for all of the work and planning that is involved and it is a gift that I will cherish and make for myself , my daughter and a few of my friends. Have a wonderful sweet day and many happy stitches until your next entry. Many hugs from sunny Arizona.
ReplyDeleteOh , Mary. I warms my heart to hear that you like this little stitch. I hope you enjoy stitching it as much as I did; I bet you will have it whipped out in no time and a stitched berry would be a beautiful gift. I am so honored. Have a lovely week. I hope it is not getting to hot in your neck of the woods. Hugs.
DeleteYour first cross stitch strawberry design is so cute and I know your grandma would be honored! Thank you for sharing it with us and for the links to the tutorials! ♥
ReplyDeleteAaw you are so kind, Carol . I would like to think that Granny is smiling down upon me admiring the little berry I created for her. Hope you are having a lovely week. Happy stitching.
DeleteJudy Y. Well I love your berry as I do ALL of your cross stitch projects. You are berry sweet to share with us🍓
ReplyDeleteHappy Tuesday, dear Judy and thank you so much for the sweetest compliment on my 1st berry. It was a fun challenge to work on and I am over the moon with it. Have a berry beautiful evening. Hugs.
DeleteWhat beautiful things you shared today! I love the strawberry and may try one, saved it so I could, anyway. I'm still working on Frosty McChill. Got one finished on vacation in PA.
ReplyDeleteAaah thank you so much, Susan. I hope you are enjoying working on Frosty. I was thinking about that quilt the other day. I hope you had a wonderful time on vacation and was able to relax as well. Hugs.
DeleteAaah thank you so much, Maureen. It was nice to try something different in finishing. Have a beautiful day.
ReplyDeleteThanks for your generosity.
ReplyDeleteThis strawberry is adorable!
Kisses from Spain,
Pilarín
You are so very kind, Pilarin. Thank you so much for stopping by to see my berry. Have a lovely day. Hugs.
DeleteSomething new, so creative, and beautiful! Thank you for sharing with us!
ReplyDeleteAaah thank you so much, Ginny. I had a ball working on the berry. It came out better than I had hoped. Have a beautiful day.
DeleteTrès jolie cette fraise .
ReplyDeleteMerci pour le partage du modèle.
Bonne soirée
Aaw thank you very much , dear Monique. It was a joy to work on this little berry. I am so grateful that you stopped by for a visit. Have a lovely day. Hugs.
DeleteThank you, thank you for the design. You are so generous. I just love stitching your freebies.
ReplyDeleteAaah that just warms my heart to hear that you enjoy my humble little designs. Thank you from the bottom of my heart. Hugs.
DeleteSo much detail in your tiny creations, Melisa!!! We all love strawberries!!!
ReplyDeleteOh thank you so much, Nancy. Oh, I love strawberries - real and stitched. Lol. Have a great weekend and thank you for the sweet visit.
DeleteI'm going to give this a go for Cross Stitch Camp August 2023-try something new to you :) Can't wait!! (And better not August is going by quickly! lol)
ReplyDeleteAaah I sure hope you enjoy it, Marcy. It stitches up very quickly. I am so touched that you chose this as your August camp project. Thank you so much. Have a wonderful weekend and happy stitching.
DeleteWhat a lovely Berry and great tutorial. Closing up with the cap, button, and plaid ribbon made for a very pretty finish.
ReplyDeleteOh thank you so much, Ginny. I really enjoy making the berries. The cap is usually the most time consuming part, but enjoyable to work on nonetheless. Hugs and Blessings
DeleteBeautiful!
ReplyDeleteAmazing!
ReplyDelete